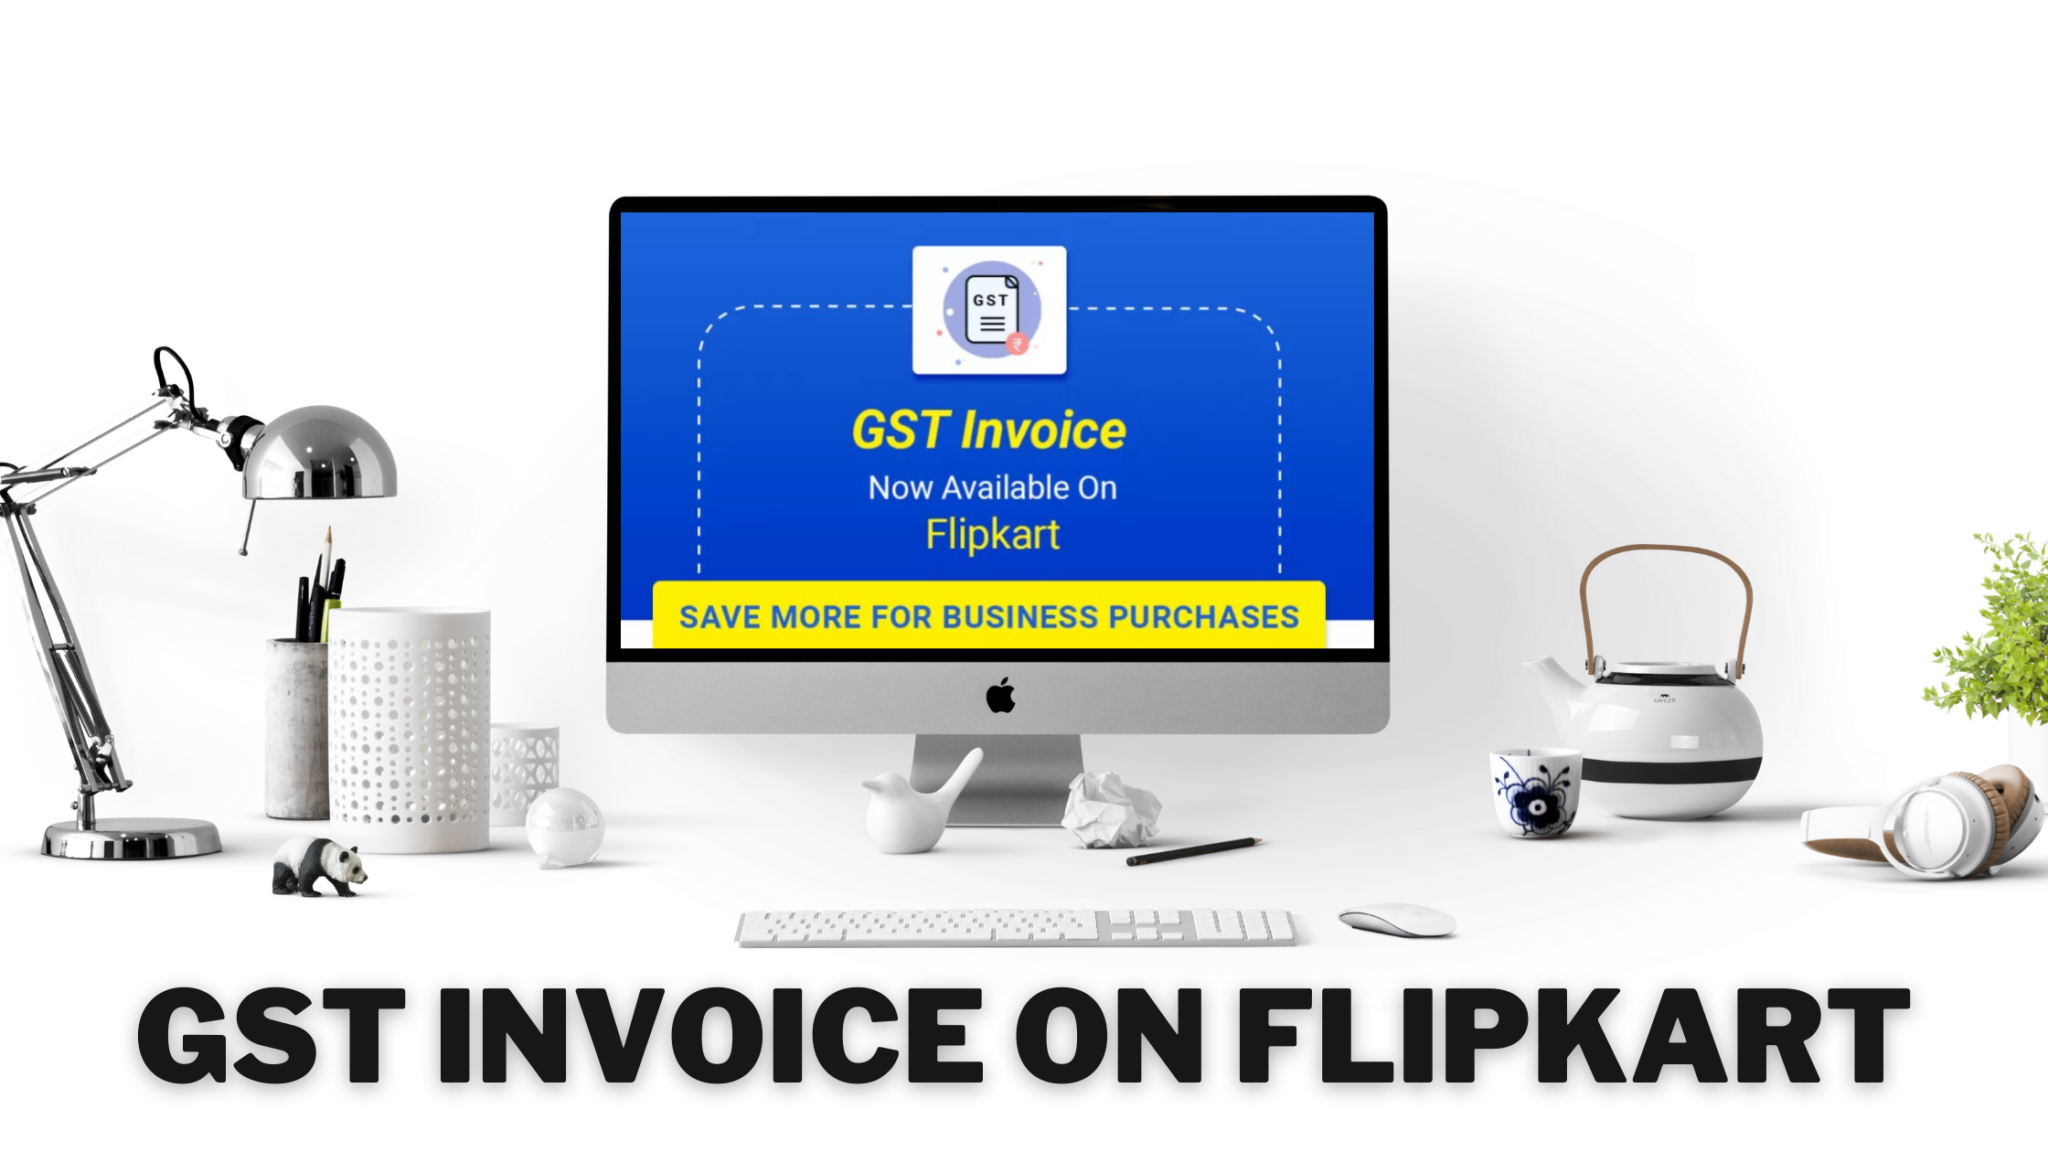
Flipkart is one of the largest e-commerce stores in India. Till now, they didn’t offer GST Invoices for any products. On the other hand, Amazon India provided GST Invoices through the Amazon Business Account. However, Flipkart has now finally added an option to get the GST Invoices for several products. In this article, you will learn how to get that GST Invoice on Flipkart for your business purchases.

Here’s the list of steps you will need to follow in order to get a GST Invoice on Flipkart:
- Go to the page of the product you are willing to purchase.
- In the “Seller Details” section, you will see whether the seller offers GST Invoices or not.
- If the seller offers GST Invoice, add the product to cart.
- Confirm your address and proceed towards checkout.
- On the “Order Summary” page i.e. right before Payment, you’ll see a checkbox with “Use GST Invoice” text. Select that checkbox.
- Now, enter your GSTIN and Business Name and click on “Confirm and Save”.
- Verify the details of your GST as well as the product before payment.
- Once done with verification, head over to the payment section and pay for the product.
- That’s it.
Note that your GST state code should match your delivery address. Also, if there are multiple items in cart, then make sure that all are eligible for the GST Invoice. Also, the products which have value added services like Complete Mobile Protection, Assured Buyback, Exchange Offers, etc. are not eligible for GST Invoice.
If you want to read some more guides, you can read them here. Also, don’t forget to follow us on Instagram, Twitter and YouTube. We will be posting more videos on YouTube in the near future.


i would like to buy products in my gst no.
Should the account i pay from and my gst linked account be the same?
Should the delivery address mentioned for the order be same as that registered with the GST firm ? Or can I provide my residential address as well ?
GST ISSUE. I AM IN FARIDABAD AND I WANT TO DELIVER THE PRODUCT IN GORAKHPUR (U.P.). SHOULD I USE MY FARIDABAD GST NO.
Can GSTIN resigtered address and delivery address be different within a same state.
How will i get the discount of GST Invoice and when?
Can I use credit card discount for gst booking I have mobile shop